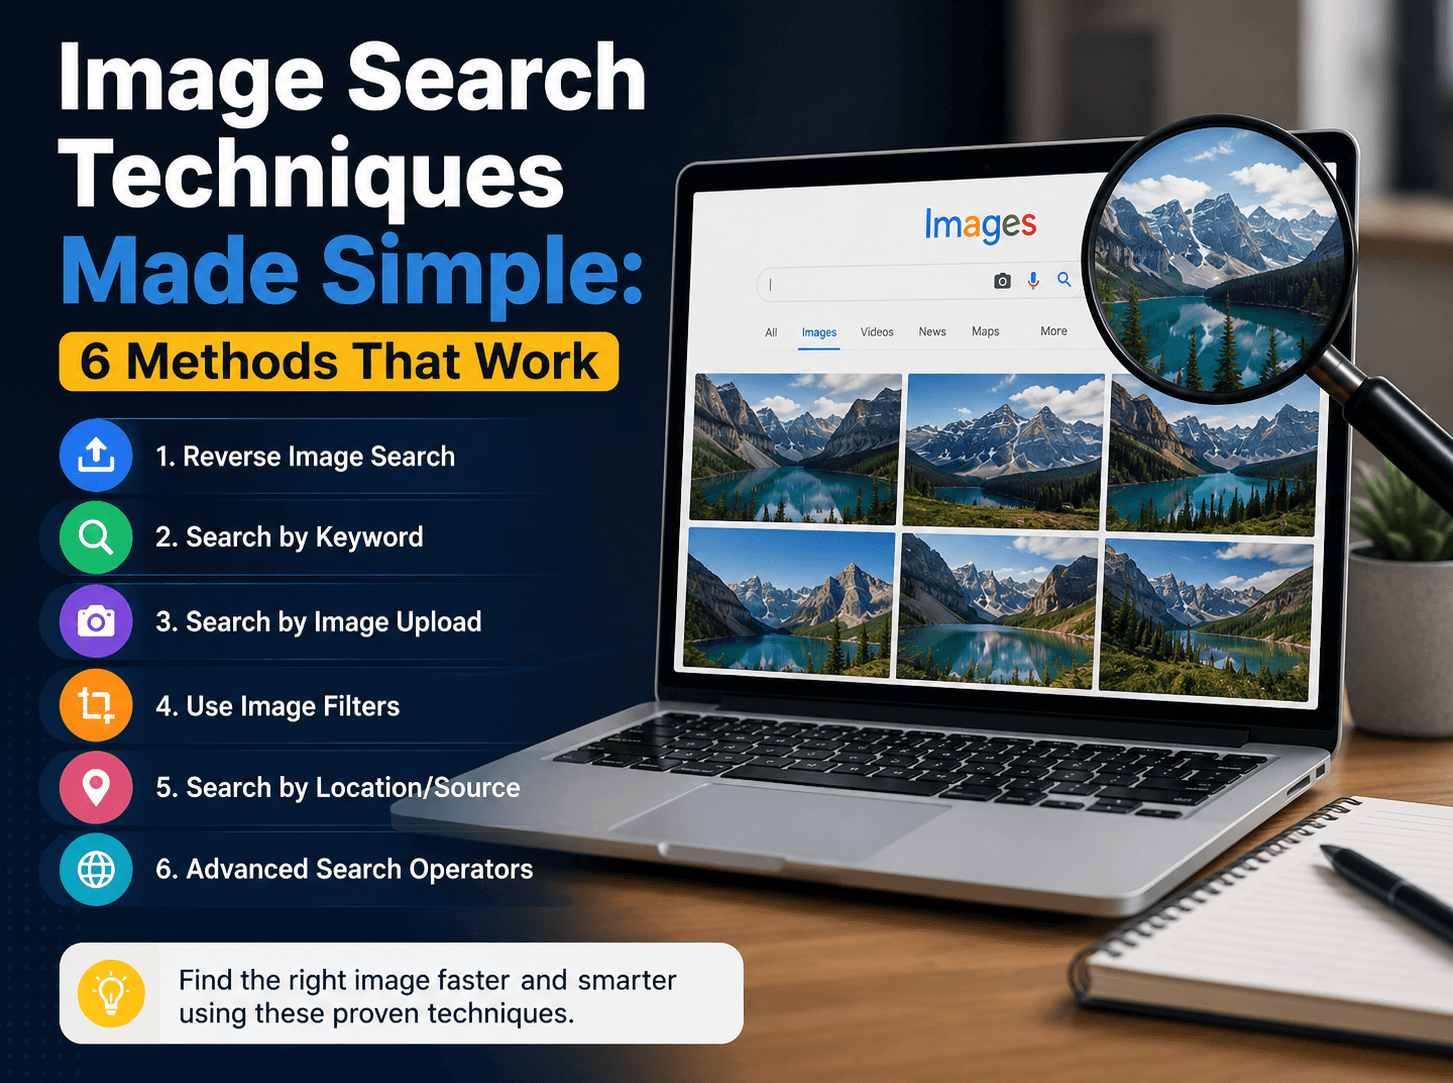
Six techniques. That’s really the whole toolkit. Keyword-based search, reverse image search, visual similarity search, object recognition, color-based search, and facial recognition. Each one answers something different, what does this look like, where did this come from, what’s actually in this picture, and picking the wrong one is how you end up scrolling for twenty minutes for nothing.
Most guides on this quietly narrow down to reverse image search and call it a day. That’s one piece of a bigger set of image search techniques, not the whole thing. Here’s the rest of it, the tools worth using for each, and a few accuracy tips that actually move the needle.
Image For All 6 Types Of Image search Techniques
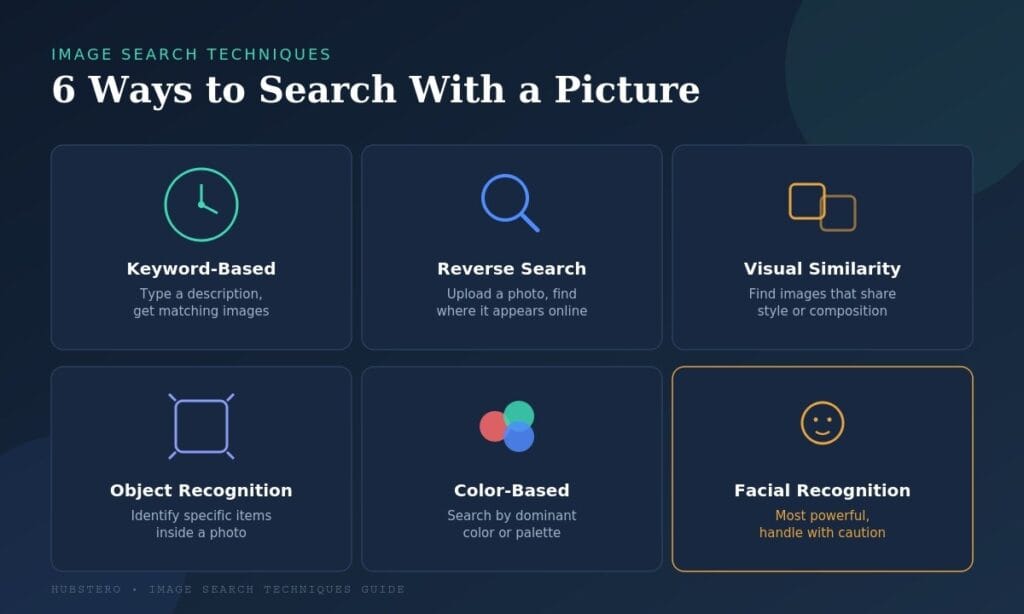
1. Keyword-Based Image Search techniques
The one everyone already knows without thinking about it. Type a description, “sunset over mountains,” “vintage leather backpack,” and back come images matching that text, mostly pulled from titles, captions, alt text attached to each picture.
Fine when you roughly know what you want and just need options in front of you. Falls apart fast the second you’re trying to describe something oddly specific. A particular shade of teal. A pattern on fabric that words just don’t capture well no matter how you phrase it.
2. Reverse Image Search techniques
Flip it around entirely. Instead of typing words, you upload a photo or paste an image URL, and the engine goes hunting for where else that image, or something visually close to it, turns up online.
Genuinely useful for a handful of specific things. Confirming whether a product photo is stock or original. Finding a higher-resolution version of something you already have a small copy of. Checking if a profile picture got lifted from someone else entirely. Tracing where a viral image actually came from before it got passed around a hundred times. The same verify-before-you-trust instinct applies here as it does with checking any unfamiliar website’s claims, source-checking isn’t just a text problem.
Four tools dominate this space. They’re not interchangeable, whatever the generic “best reverse image search tools” lists tell you.
Google Images carries the biggest index. Good first stop for almost anything, and Google’s own explanation of how Lens works breaks down the ranking logic behind those results if you want the mechanics.
TinEye specializes in exact matches, tracking how an image spread across the web over time. Useful for checking if something got reused without credit.
Yandex Images, oddly, does noticeably better than Google specifically at facial matches, photos with people in them. Worth remembering if that’s what you’re actually after.
Bing Visual Search plugs into Microsoft’s ecosystem well, and sometimes surfaces results the other three miss entirely, for whatever reason.
Run the same image through two or three of these. Takes an extra minute. Often turns up something a single search would’ve missed completely.
How to Actually Do It
Desktop: open images.google.com, click the camera icon, upload a file, paste a URL, or just drag the image straight onto the page.
Phone: open the Google app, tap the camera icon inside the search bar, select Google Lens, upload from your gallery or snap something fresh.
3. Visual Similarity Search
Related to reverse search, but chasing a different goal entirely. This one’s about finding images that look similar in style, composition, overall aesthetic, rather than tracking down one exact photo. Designers and marketers lean on this constantly, mood boards, style references, hunting alternatives that fit a particular visual direction they’re already committed to.
4. Object Recognition
The system picks out specific items sitting inside a photo, a plant, a car model, a piece of furniture, a landmark, then pulls up information or shopping results tied to that object. This is what powers “shop this look” features and plant-ID apps everyone’s phone seems to have now. Google Lens handles everyday objects well enough. Specialized apps tend to win out for narrow categories, plant species specifically, or niche product lines. It’s worth remembering these AI-powered results are only as good as the platform behind them, not every “AI search” tool lives up to what it claims, image search included.
5. Color-Based Search
Narrower use case, sure. Genuinely useful the moment you actually need it, though. Filters images by dominant color rather than subject matter, handy for keeping brand consistency intact, building a color-coordinated mood board, or hunting down design assets that match one specific palette.
6. Facial Recognition Search
The most powerful technique here by a wide margin, and the one that deserves the most caution, hands down. These tools match a face against a database of other photos to find where else that person shows up across the internet. Services like PimEyes offer this at a subscription level, well past whatever Google or Bing bother doing for general searches.
This is also where things get genuinely messy, ethically speaking. Running someone else’s photo through a facial recognition tool without their knowledge raises real privacy concerns, full stop. Several countries actually regulate or restrict this kind of search specifically because of stalking and harassment risks tied directly to it. The Electronic Frontier Foundation’s ongoing work on facial recognition covers these risks in more depth, worth reading before relying on this technique for anything beyond checking your own digital footprint. Using it on your own photos to check your digital footprint, that’s one thing. Running it on someone else’s face without a clear, legitimate reason behind it, that’s a completely different conversation.
Quick Comparison of Image Search Techniques by Tool
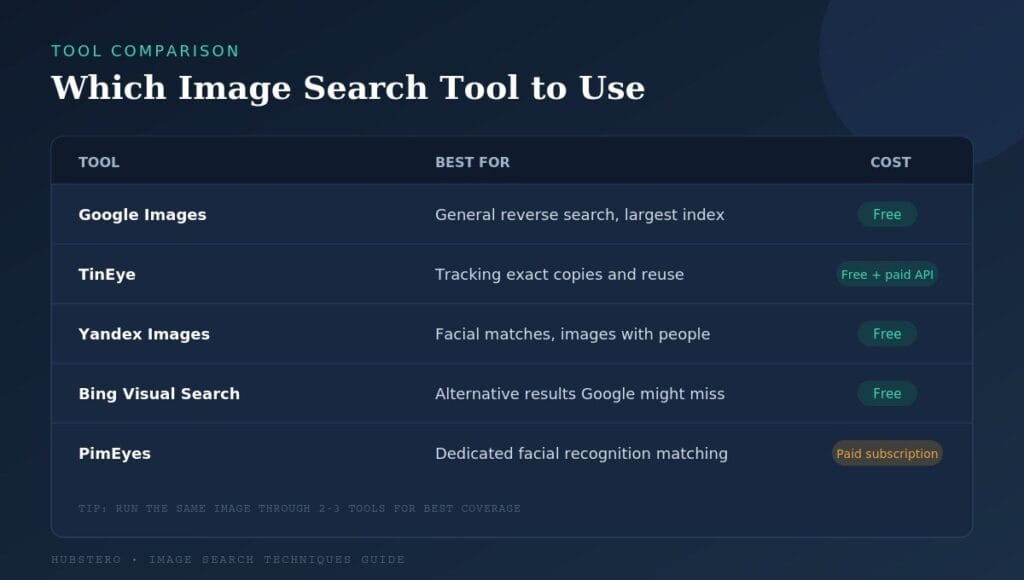
| Tool | Best For | Cost |
|---|---|---|
| Google Images | General reverse search, largest index | Free |
| TinEye | Tracking exact copies and reuse history | Free, paid API available |
| Yandex Images | Facial matches, images with people | Free |
| Bing Visual Search | Alternative results Google might miss | Free |
| PimEyes | Dedicated facial recognition matching | Paid subscription |
Tips for Getting Better Results With Any Image Search Techniques
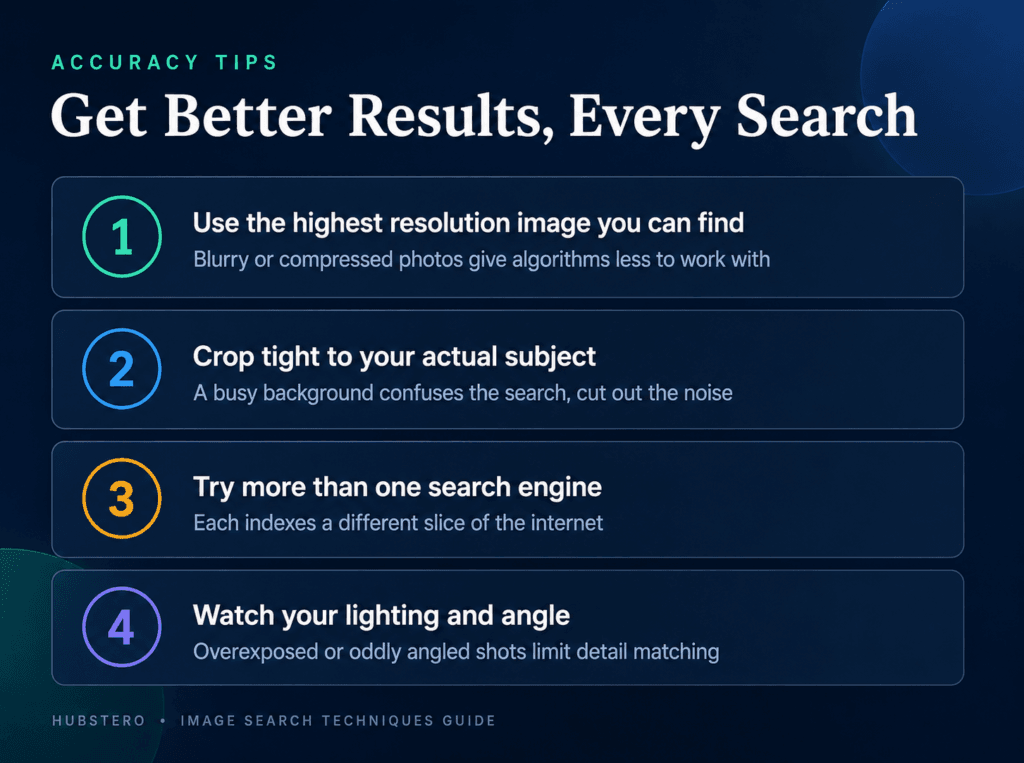
Grab the highest-resolution version of your image you can find. Blurry or heavily compressed photos give algorithms less to actually chew on, and results suffer for it, every single time.
Crop tight to your actual subject. A busy background just confuses the whole search. Cut everything else out, and results sharpen up considerably, almost immediately.
Try more than one engine. Seriously, don’t skip this. Each one indexes a different slice of the internet, and a search that comes up completely empty on Google sometimes turns up exactly what you needed on TinEye or Yandex, no changes made besides the tool itself.
Watch your lighting and angle too, if you’re shooting something yourself rather than uploading an existing image. Overexposed shots, weird angles, both limit how well the system can actually match key details against anything in its index.
Frequently Asked Questions
What’s the difference between reverse image search and regular image search techniques?
Regular search starts with words, you type something, it hands back matching pictures. Reverse search flips that. Start with a picture instead, and the engine goes looking for where that image, or something close to it, actually lives online.
Which reverse image search tool is the most accurate?
Depends what you’re chasing, really. Google Images wins on raw index size for general use. Yandex, oddly enough, edges ahead specifically when there’s a face in the photo.
Can I do a reverse image search on my phone?
Yep. Open the Google app, tap the camera icon sitting in the search bar, pick Google Lens, then upload from your gallery or just snap something new on the spot.
Is reverse image search free to use?
For standard use, yes, all of it. Google Images, TinEye, Yandex, Bing Visual Search, free at the consumer level across the board. A few services charge for the extras, API access, dedicated facial matching, stuff most people never need anyway.
Is it legal to reverse image search someone else’s photo?
Generally, sure, for the standard version. Facial recognition search is where it gets heavier legally and ethically, depending where you are. Running that on someone else’s face without a real, legitimate reason behind it? That’s worth thinking twice about.
Bottom Line
Six techniques. Six different jobs, really, and that’s the whole point of learning more than one image search techniques instead of leaning on the same one every time. Keyword search for general browsing. Reverse image search for tracing where a photo actually came from. Visual similarity for style and mood. Object recognition for identifying items sitting inside a frame. Color-based search for design work specifically. Facial recognition for the narrowest, most sensitive use case of the whole bunch. Match the technique to what you’re actually trying to find, stack a couple of tools together when the first search comes up short, and keep the privacy side of things in mind the moment faces enter the picture.